

Easy Bookbinding with old maps


What you need:
- a cheap notebook
- a hot glue gun
- spray adhesive
- a scalpel
- a triangle rule and a normal ruler
- decorative paper
- duck tape
Time to make one notebook: 30 min.

2. You will need some nice paper to cover the backboard again. I chose old maps from Indiana! Of course there is special paper for this as well, but all you need to think of is that the paper you are choosing is not too thin.

3. Cut the you paper. Make sure you have enough surrounding paper around your bookboard.

4. Mark all four edges of the bookboard on the wrong side of the paper.

5. In order to fold the edges, you need to cut of a little triangle. Use a triangle ruler and cut of the triangle. Make sure you don't cut right at the tip of the triangle but a bit shifted. Do it on all four edges.


6. Spray the wrong side of the the paper with adhesive spray. Put the bookboard on to the paper and fold over the edges. Start with one side and then with the opposite fold.


It should look like this now:

7. Repeat steps 3 to 6 with the second bookboard. It should look like this now:

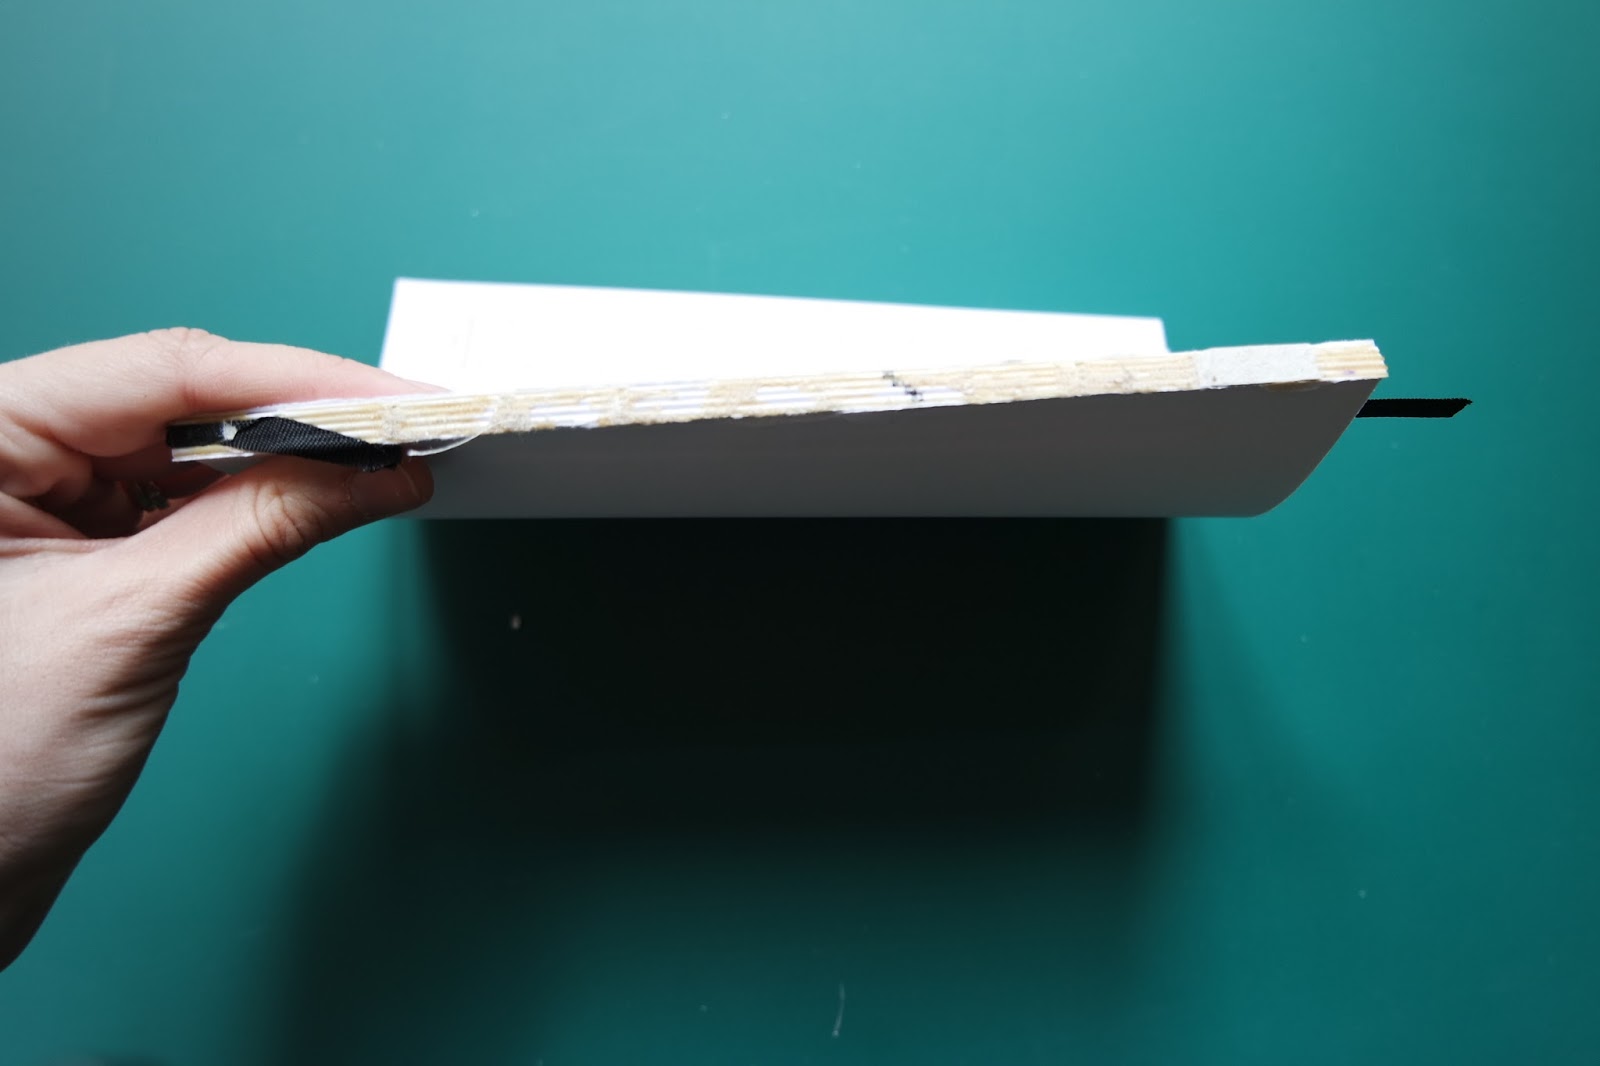
8. And this is how my notebook (I used a calendar) should look like when it is stripped!

9. Now you need Duck tape. Cut it the double length of the notebook and a bit more, so that it can overlap.

10. Right in the middle of the Duck Tape, place the thin bookboard strip and press. Next, align the two bookboards carefully and press again. Then, fold the tape over.


11. Press down the rest of the tape all around the two bookboards, right over the thin strip.

If you close the book now, it will already feel like a real notebook.

12. To cover the rest of the book, take some white paper and use spray adhesive.

13. Take the text block and align it with note bookboards. If notice, the text block is to long for the Notebook, you will need to trim the block. It is not hard, but you need to be careful with the scalpel and a ruler will make the process of cutting along the line a lot easier. Align the ruler and press it down firmly all the time! Don't loosen your grip until you have cut right through all of the paper. After a few cuts you can take away the little paper strips. It will make the cutting process easier!


14. Align the texblock with the bookboard again and heat the hot glue gun. Evenly press out the glue, so that the spine of the text block and the spine of the bookboard will be glued together. Let it dry for a few minutes and it will be done!


So it looks like this:
I've made a few others, all with different duck tape:


I hope you like the tutorial!


0 Kommentare:
Kommentar veröffentlichen